Personally I needed such a programmable pressure switch because the ones found in commerce are not suitable for my use, so in the end I said: why not do something to my taste and heart !?
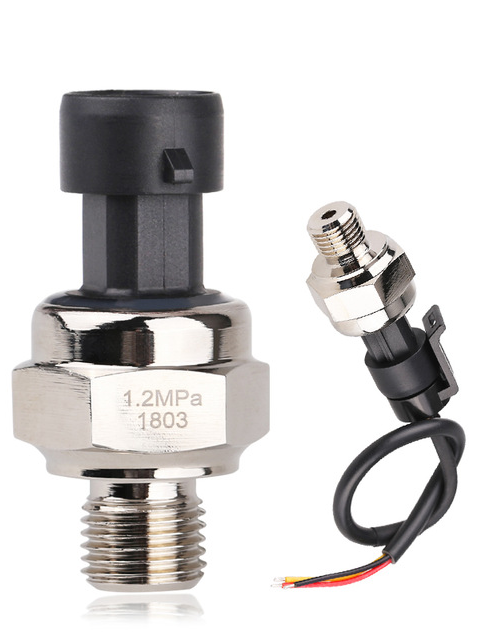
The sensor used is a very inexpensive model, and it’s an extraordinarily good one from observations and usage, I really do not understand how there can be such sensors with the same specifications, but a dozen times more expensive, total thievery.
Search Google for HK1100C or “G1 / 4 0-1.2 MPa Hydraulic Pressure Sensor” and you will find it everywhere, especially on china sites like aliexpress, dx or dhgate.
I’m not going into very technical details because most are already explained by comments in the code presented below. But as an idea, here’s what you need for this project:
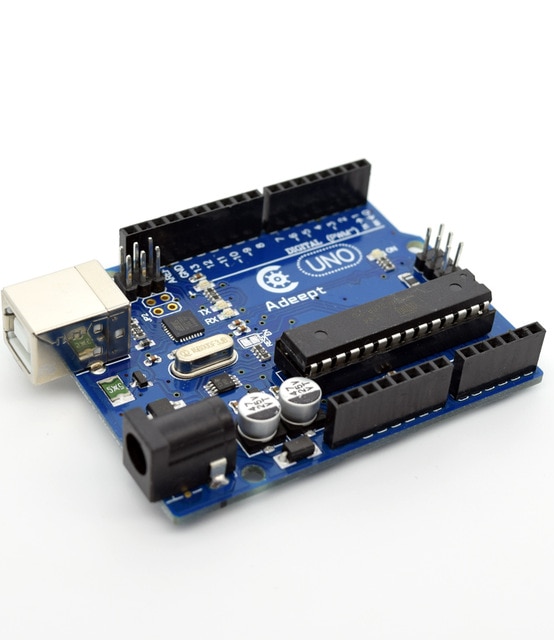
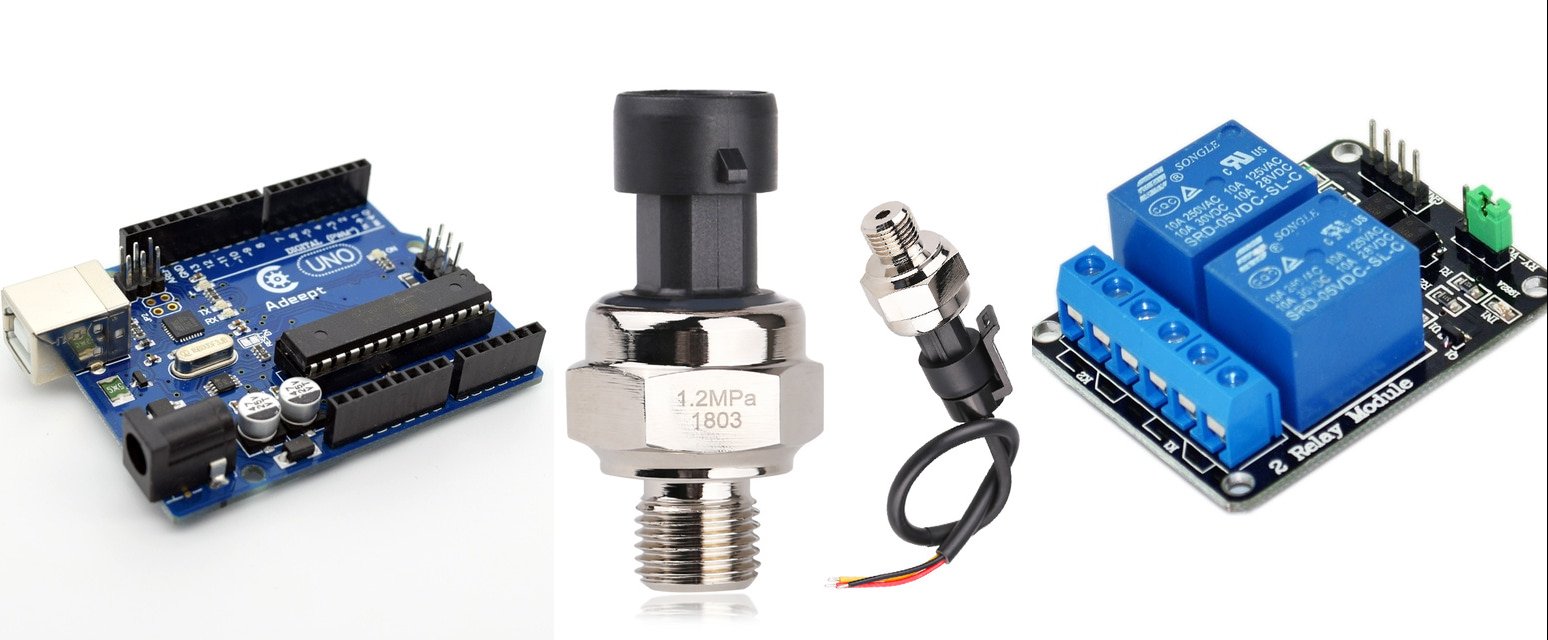
- Arduino Uno board (or other model if you have other preferences but not all have at least two power pins available)
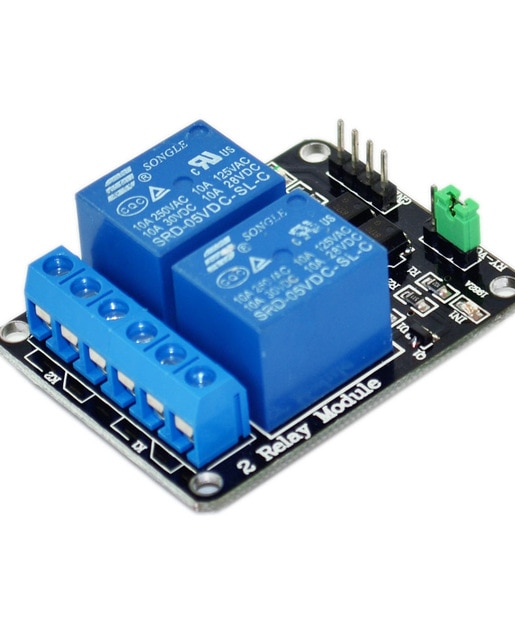
- 2 Channel 5V Relay Module
- Sensor / Pressure Transducer, Model: G1 / 4 0-1.2 MPa (HK1100C). The maximum pressure is 12 bar.
- 1A (or higher) phone charger for USB cable (higher amperage greatly reduces voltage variations) + USB cable that remains attached for power
- Connection wires for arduino, Male-to-Male or Male-to-Female solderless DuPont Jumper Wires
- Soldering Iron, Solder Tip Tinner and Cleaner
- Insulating tape or heat shrink tubing
- A laptop to check and reprogram the controller where it is needed in use!
Very important:
Do not use an external power supply directly on the microcontroller supply because many models do not have a good quality voltage regulator and the project will not work properly! Use a phone charger to which you can attach a USB cable.
During programming and testing when the Arduino board is connected to the computer, everything can work perfectly, but once only the external power supply is used, the operation may go wrong, the pressure switch becomes unstable!
In my case, I chose a low operating pressure because the pump is at a very high distance of ~ 100m, the level difference up to 25m, and the pump does not reach more than 1.9 bar. The pressure difference is chosen so that the expansion vessel (if any) does not empty too much, as the pressure drops to the tap.
You should also consider that the pump can lower the pressure in summer. When the fountain is full, the layer of water above the pump helps to increase the pressure, and when the water level in the fountain decreases the pressure can drop, it also depends on the pump parameters.
Note:
- If there is no expansion vessel, the pump will start more often, almost every tap opening!
- Always use a sense valve on the water supply to avoid draining the water ~ to the pump outlet if it is submersible or to the inlet (after the filter) if it is another type!
- To avoid starting the pump when not using the tap, Check the entire installation for leakage!
Below is the complete code for a pressure switch with command on both power phases:
/* Arduino pressure switch by Emilian Robert Vicol */

#include <avr/wdt.h>  /* Arduino watchdog Lib. Defense when something goes wrong and reset the board! */

/* senzor settings: G1/4 0-1.2 MPa Hydraulic Pressure Sensor */
/* the sensor is cheap and extraordinarily good. Search for models: HK1100C */
const float Voffset = 0.52;   /* Volts, depends on the stability of the supply voltage. ideal is 0.5V */
const float Vmin = 0.5;       /* Volts */
const float Vmax = 4.5;       /* Volts */
const float Pmin = 0;         /* MPa */
const float Pmax = 1.2;       /* MPa */
const float kPV = (Pmax - Pmin) / (Vmax - Vmin);

/* arduino settings */
/* To avoid voltage variations when switch ON/OFF relays, I strongly recommend that you powering arduino board through USB port, a phone charger is very suitable. */
/* The second solution is to drive the relay block from a separate power supply. I've used the first solution! */
/* Do not forget these recommendations, they are very important, the project will not work properly if the supply voltage is not stable! */
const float SupplyVoltage = 5.0;  /* depends on the power supply and the stability of the voltage conversion on the board */
const float MaxDAC = 1024.0;

/* pump sesttings */
const float max_bar_off = 1.85;    /* max pressure (permited or posible) */
const float delta = 0.4;           /* delta pressure */
const float min_bar_on = max_bar_off - delta; /* the minimum pressure at which the pump starts. The pump will operate from "min_bar_on" to  max_bar_off" */

const int Sensor = A2;             /* Analogic A2 pin for the pressure sensor */
/* To connect the sensor to a larger distance, use twisted wires, such as in the network cables, */
/* use two pairs of twisted wires, a pair of power supply (+ 5V / GND) and a pair with signal (Data / GND) */

void setup() {
    Serial.begin(9600);

    pinMode(3, OUTPUT); digitalWrite(3, HIGH);  /* We use two control pins for two relays */
    pinMode(4, OUTPUT); digitalWrite(4, HIGH);  /* to isolate both phases of the pump */

    pinMode(Sensor, INPUT);   /* enable INPUT mode for sensor */

    wdt_enable(WDTO_4S);      /* enable Arduino watchdog, 4 seconds */

    Serial.print("START!");
}

  unsigned long time_end = 0;          /* "delay for stop" variable, we do not stop the pump immediately, but wait for a few seconds */
  unsigned long stop_delay = 5*1000;   /* 5 seconds waiting when the pressure has reached the desired value, then checking if it should be stopped  */

  void loop(){

  int sensorVal=analogRead(Sensor);

  float voltage = (sensorVal* SupplyVoltage) / MaxDAC;

  float pressure_bar = abs(kPV *( (float)voltage - Voffset ) ) * 10 ;  /* x10 = MegaPascal to Bar; use abs() to avoid negative pressure */

  Serial.print("Sensor Value: "); Serial.print(sensorVal); Serial.print(" | ");
  Serial.print("Volts: ");        Serial.print(voltage);   Serial.print(" | ");
  Serial.print("Pressure: ");     Serial.print(pressure_bar); Serial.println(" bars ");

    if (pressure_bar >= max_bar_off) {      /* Check if the pressure remains above the limit "max_bar_off" */
        if  (time_end != 0) {               /* Check if the "delay for stop" time is activated */
            if ( time_end < millis() ) {    /*  "delay for stop" end ? then turn OFF the pump */
              digitalWrite(4, HIGH);
              digitalWrite(3, HIGH);
              Serial.println("PUMP => OFF");
              time_end = 0;                 /* reset "delay for stop" and start new Check  */
            }
        } else {
            time_end = millis() + stop_delay;   /* init "delay for stop" and Check if the pressure remains above the limit "max_bar_off"  */
            Serial.println("PUMP => WAIT FOR STOP...");
        }

    } else if (pressure_bar <= min_bar_on) {    /* the pressure is lower than the "min_bar_on" and we start the pump */
      time_end = 0;                             /* reset "delay for stop", start de pump and start/loop new Check  */
      digitalWrite(4, LOW);
      digitalWrite(3, LOW);
      Serial.println("PUMP => ON");
    }

  delay(333);     /* A check of 3 times per second in the loop is enough for my case */

  wdt_reset();    /* reset Arduino watchdog */
}
For who wants and has time for more experimental things:
- Can adapt an LCD screen and buttons to adjust the parameters,
- SD card for logs (in this case it can also be programmed with self-configuration when installing, resetting, etc.)
- Current sensor to detect pump failure or if the pump is submersible with float actually detects lack of water, there is no water in the fountain!
- implementing code to estimate consumption (if current sensor is present)
- WIFi / LAN interface for programming / remote control
Additional code + current sensor can be added to detect water shortage and stop the pump “on fault” until manual reset or periodic check after a certain time. Basically, check if the pressure is close to zero and there is current on the power supply, but if the pump is submersible and floating, this becomes redundant, more disturbing.
Another change: If there are two water sources, one can be set up as “preferential source”, and if there is a lack of water on the preferential, it will automatically switch to the “secondary” source, the switching to the preferred one being done manually or automatically by checking periodic, depending on the project specifications. But for such an option it is necessary to have a multi-relay block (minimum 3), a separate power supply for the relay control + Water Electrovalve Solenoid and a specially designed installation for two sources.
For other questions you can leave a comment bellow!
Be First to Comment